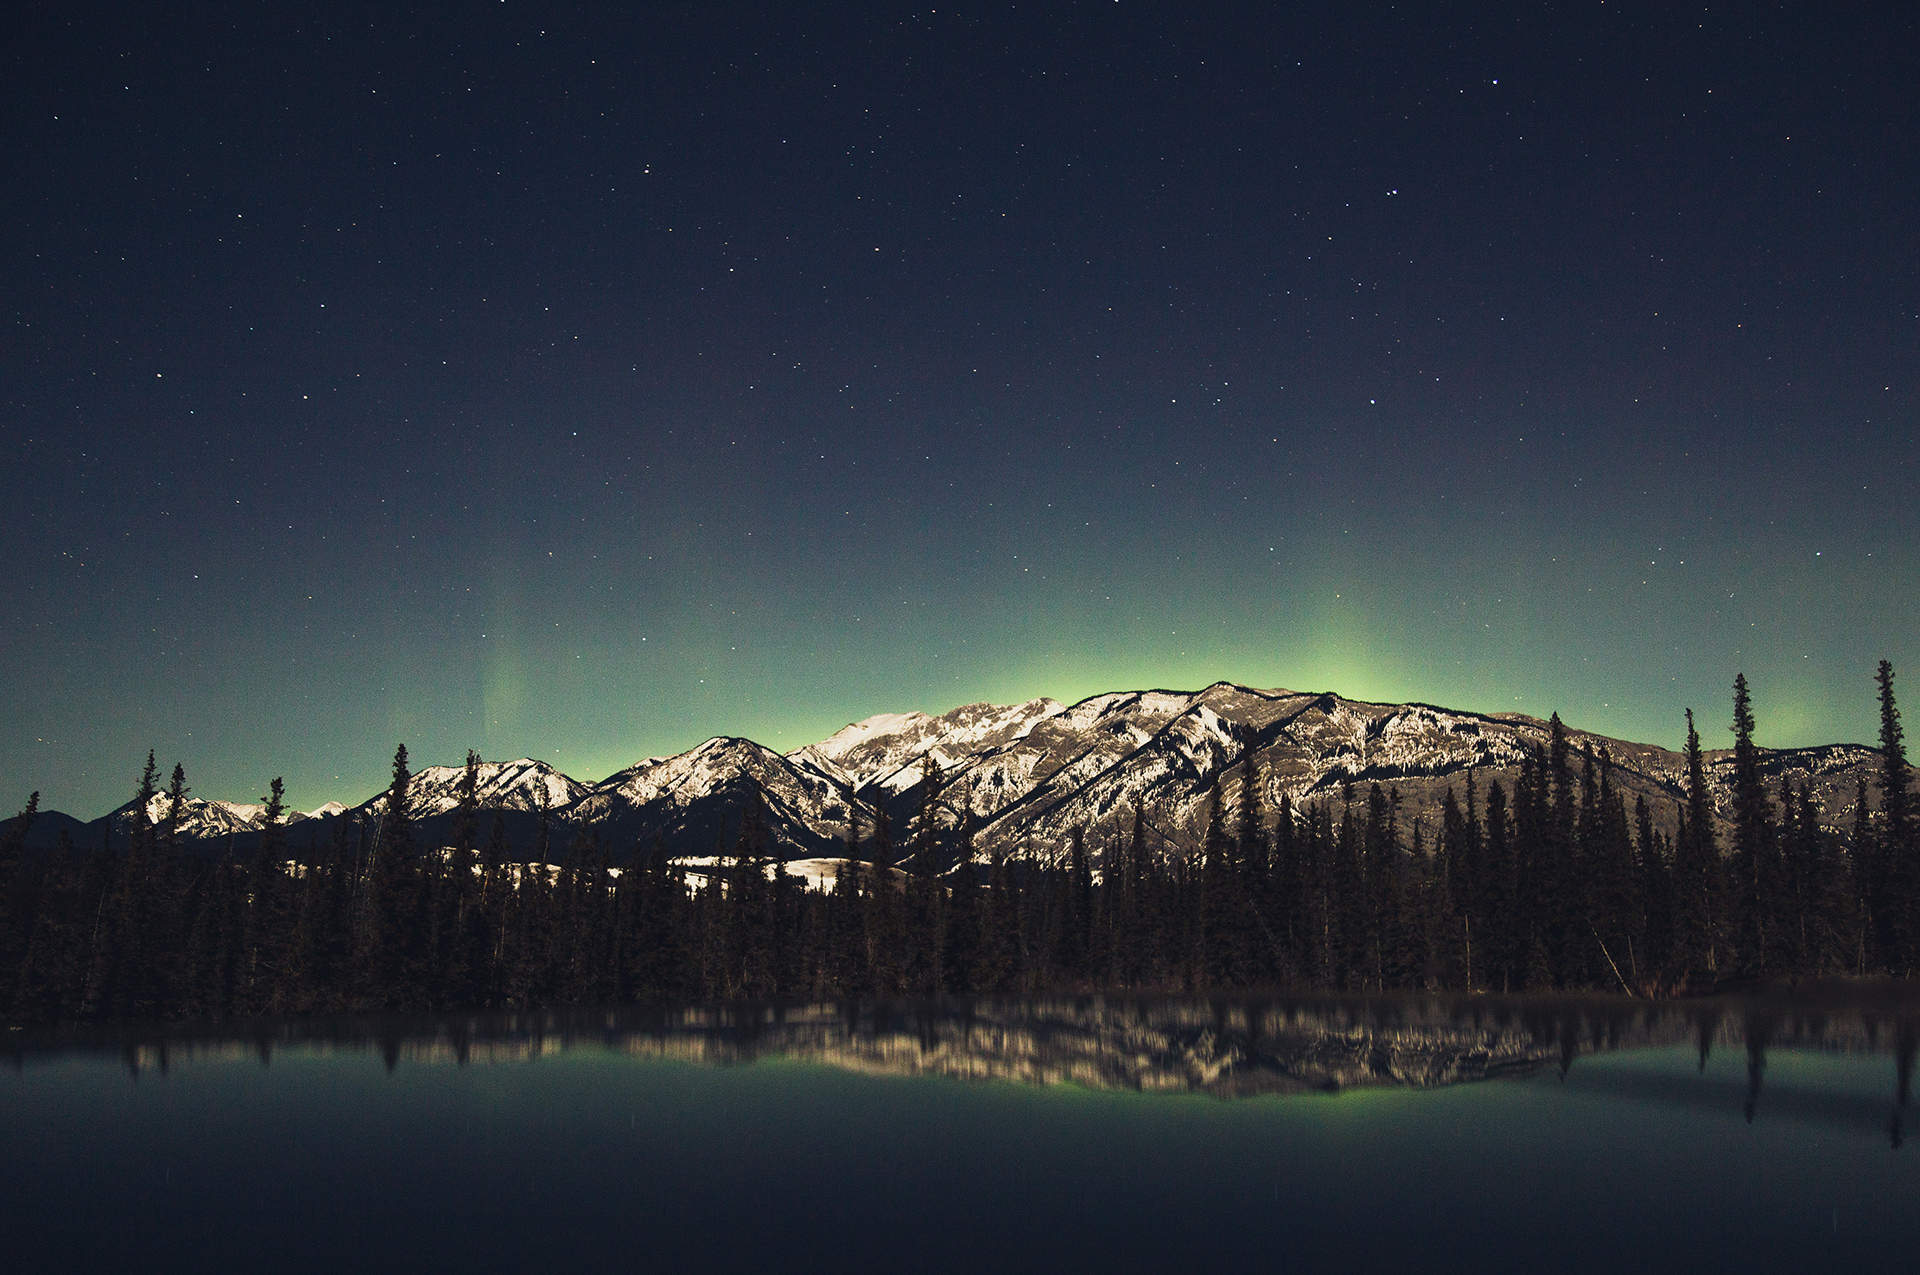
What is a Layer?
Layers are exactly what they sound like. They are images or HTML overlaid on top of one another. Layers are one the most powerful tools integrated in imagine which allow you to animate multiple separate entities on the same animation canvas.


How do I markup a layer?
Make sure you’ve followed the previous Getting Started articles before you continue.
In imagine you can either use Images or HTML content such as text as layers. In this section we’ll cover how to add an image layer like in the example above.
<!-- Imagine -->
<div class="imagine">
  <!-- Your content here -->

  <!-- Layer -->
  <!-- To change the layer image, modify the src=".." attribute -->
  <img class="imagine-layer" src="assets/img/layer-1.jpg"
       data-imagine-bottom="0" data-imagine-left="0" data-imagine="x 0.5">

  <!-- Background -->
  <!-- To change the background, modify the src=".." attribute -->
  <img class="imagine-background" src="assets/img/background-2.jpg">
</div>
How do I change the animation?
You can see we’re using the data-imagine attribute to set an initial custom animation or preset. You can read more about animations in the custom animations guides.
How can I position a layer?
Layer position can be set using data-attributes. The example above uses these attributes to place the layer correctly on the canvas. You can use a combination of 2 of the following attributes:
- data-imagine-top
-
data-imagine-bottom
- data-imagine-left
- data-imagine-right
<img src="img/layer-1.png" class="imagine-layer"
     data-imagine-top="100" data-imagine-left="100" />
My layer isn’t the right size. What should I do?
Layer size is automatically calculated based on the background size ratio. You can override this behaviour by setting a custom layer width and height.
- data-imagine-width
- data-imagine-height
<img src="img/layer-1.png" class="imagine-layer"
     data-imagine-width="300" data-imagine-height="386" />
